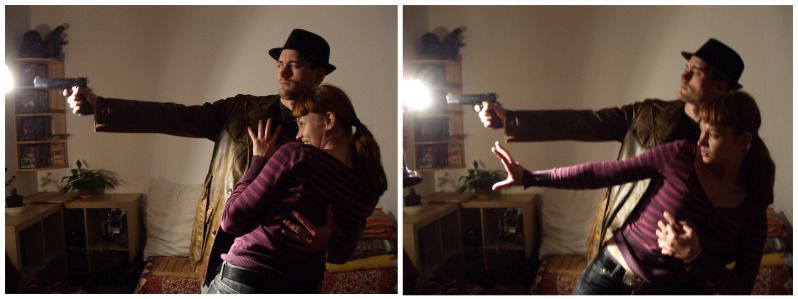
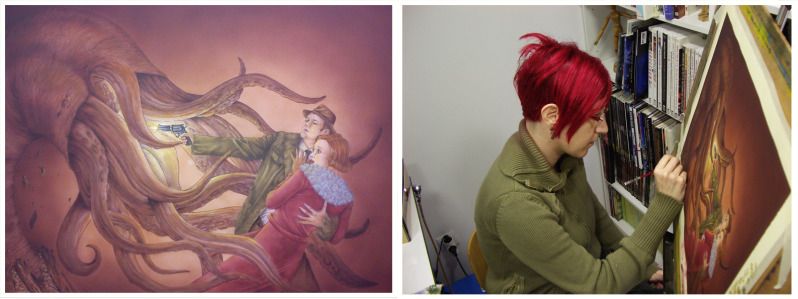
Después de una larga temporada trabajando con ilustraciones de corte infantil/juvenil, necesitaba desahogarme un poquito con un trabajo personal. Me apetecía mucho hacer una ilustración que imitara las portadas de las revistas pulp y que además fuera un ejercicio de iluminación. Con la idea muy clara de lo que quería hacer, llamé a mis amigos Jafet y Candela para que posaran, y así tener una referencia fiable de luces y sombras. La verdad es que fué muy divertido y se portaron genial, sé que es muy difícil poner cara de terror a un inocente flexo que te apunta a la cara, pero se metieron en el papel en seguida. ¡Gracias chicos!
After working with children's illustrations for a long time, I needed to take some time for myself doing a little personal work. I really wanted to create something that mimicked the covers of pulp magazines, but that was also an exercise in lighting. With such a clear idea of what I wanted, I called my friends Jafet and Candela to pose, to get a reliable reference for lighting and shadows. The truth is that it was fun and they did great. I know it's very difficult to look terrified of an innocent flexo pointed at your face, but they got into the role immediately. Thanks guys!
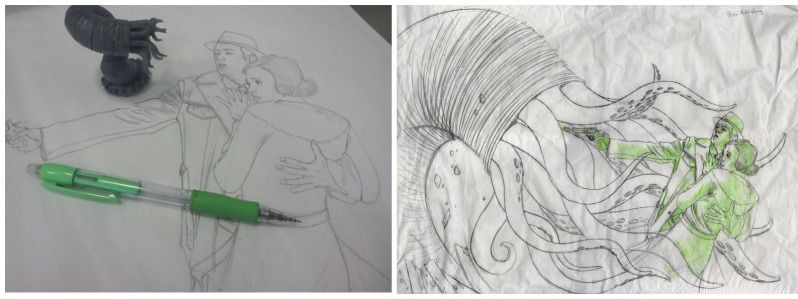
Con esta referencia comencé a abocetar. Quería que mis personajes se enfrentaran a algo imposible de vencer. Una batalla perdida. Elegí un Chthonian, una criatura de "Los mitos de Cthulhu" de Lovecraft. Son enormes y emergen del suelo, con una boca repleta de tentáculos. El último bicho que tendrías de mascota.
=====================================================================
=====================================================================
I started sketching from this reference. I wanted my characters to face something that was unbeatable. A lost battle. So I chose a Chthonian, a creature from Lovecraft's "Cthulhu Mythos". They are huge creatures that emerge from underground, with a mouth full of tentacles. The last thing you would want as a pet.
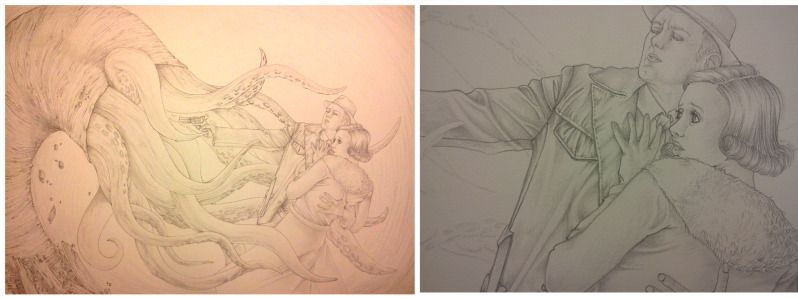
Una vez tengo la ilustración sobre el papel definitivo, siempre empiezo con una base de lápiz. Me ayuda mucho a la hora de pintar, puedo marcar los volúmenes y sombras de forma fácil. Además aporta textura cuando aerografío encima, ya que la pintura aplicada con el aerógrafo puede quedar muy plana y fría.
=====================================================================
=====================================================================
Once I have the picture on the final paper, I always start with a pencil base. It helps me a lot when painting, because I can draw volume and shadows easily. It also adds texture when airbrushing over it, since airbrushed paint can be very flat and cold.
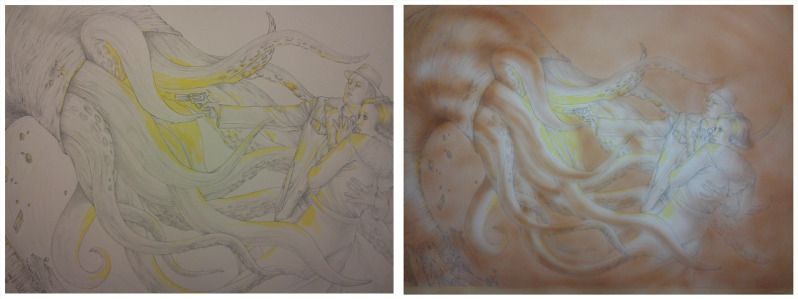
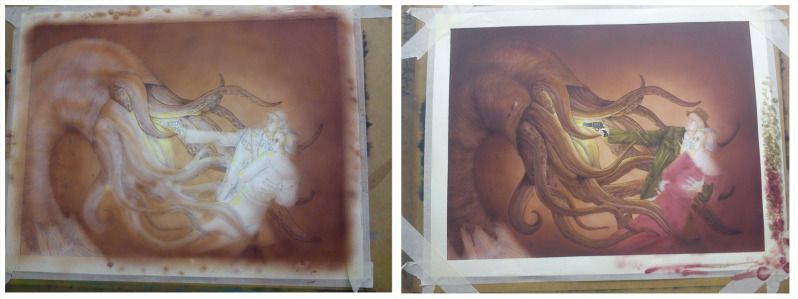
Comienzo aplicando con pincel acuarela amarilla para marcar las luces que provoca el disparo y marrón para empezar a marcar las facciones de los rostros. Luego ya paso al aerógrafo para entonar la ilustración. Esta primera parte lleva bastante tiempo, tienes que ir dando capas y capas para hacer los degradados. Y es bastante desmotivadora, todo es amorfo.
=====================================================================
I start by applying yellow watercolor with a brush in order to mark the highlights from the gunshot, and brown to start marking facial features. Then I switch to airbrushing to get the overall hue of the illustration. This first step takes some time, since you have to apply layer over layer or paint to make gradients. And it is quite demotivating, because everything is so amorphous.
A partir de este paso, el proceso varía según la ilustración. En este caso empecé a definir un poco ya las formas y a llevar todo el dibujo a la vez. Procedo a pintar los tonos medios de la ilustración al mismo tiempo. Así no corro el riesgo de oscurecer algo demasiado y alterar la idea de la iluminación que tengo. En esta fase aerógrafo y pinceles se van alternando.
=====================================================================
=====================================================================
After this, the process is different for each illustration. In this case I began to define the shapes and volumes a bit, working on the whole picture at a time. Meanwhile, I was also painting the midtones of the illustration. This way I avoid the ever-present danger of making something too dark and change the overall lighting concept. When doing this I constantly switch from airbrush to paint brushes and back again.
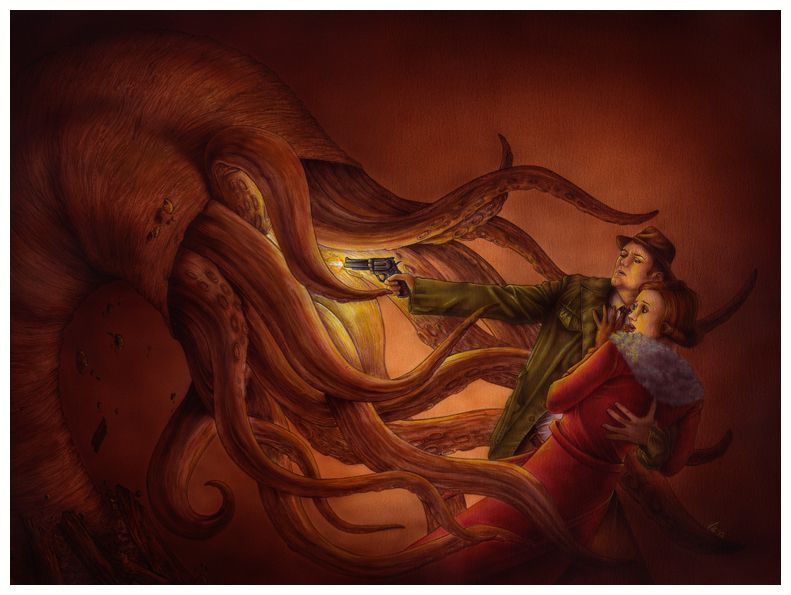
Como protagonistas de la fase final tenemos a los pinceles más pequeños. Los 3/0 y 5/0 marcarán más los detalles y ayudan a definir sombras, arrugas, expresiones... Una vez he terminado de definir, con el aerógrafo trabajo las sombras y entono el trabajo. Utilizo la pintura muy aguada y a capas muy finas, para no empastar.
Una foto para los que creáis que la vida del ilustrador es todo glamour. Aquí estoy, sin peinar y con un jersey viejo que no dé mucha pena que se manche.
=====================================================================
=====================================================================
The major players for the final phase are the smallest brushes. The 3/0 and 5/0 are the best ones for details, and help define shadows, wrinkles, expressions... Once I'm done with that, I use the airbrush for shadows and the overall hue. I use watered down paint and apply it in very thin layers to avoid paint spots.
A picture for those of you who think that the life of an illustrator is glamourous. That's me, wild hair and an old jersey that I would not mind staining with paint.
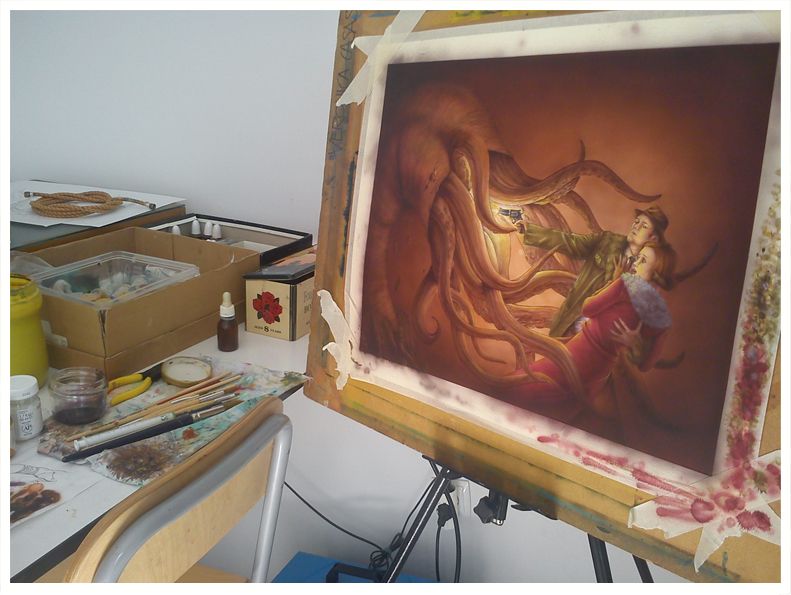
¡Terminada! Así luce en la tabla. Uno de los momentos que más me gusta es quitar la cinta de carrocero del papel. Al quitar toda esa suciedad y manchas de pincel de los bordes surge como si fuera otra.
Espero que os haya gustado el tutorial y os pueda ser útil. Perdonad por las fotos, está hechas con mi teléfono móvil, ya que este dibujo lo fui colgando paso a paso a tiempo real en mi cuenta de twitter. Para la próxima vez, prometo buenas fotografías ;D
=====================================================================
=====================================================================
Done! Just look at the table. One of my favorite moments is when I remove the masking tape from the paper. The illustration looks great when you remove all that dirt and brush stains from the edges.
I hope you enjoyed the tutorial and that it was helpful for you. Sorry for the pictures, they were made with my cellphone because I was posting this drawing in real time as a step-by-step on my twitter account. I promise I will post better pictures next time. ;D

Fenomenal, Vero, como siempre. Un abrazo.
ResponderEliminar